I have lost my pictures a hundred times in this lifetime, enough to understand the importance of a backup. Not only does the iCloud service of iPhones allow you to back up your pictures and videos, but you can also download them whenever you want. If you don’t want to download all the pictures, then you can selectively choose the ones you want to download. With an internet connection, you can easily upload and access your pictures anytime. Don’t have your iPhone at the moment? No problem! You can use your Mac, PC, or iPad to do the same. You only have to learn how to upload photos to iCloud and half of the task will be done.
iCloud Photo Library: How Does It Work?
All of your uploadings are happening because there exists an iCloud Photo Library. When you turn its option on your iPhone, your photos will automatically be uploaded over wifi or a cellular connection. Also, once your photos are uploaded, you can access your photos from any of your devices, simply by logging into your account. iCloud Photo Library only gives you 5 GB of free iCloud storage. After you have completely used your 5 GB you have to buy storage, if you want to upload more pictures to your iCloud. For every dollar a month you will get 50 GB of storage. For every $2.99 a month, you will get 200 GB of storage and for every $9.99 you will get 2 TB of storage.
How to Upload Photos to iCloud from iPhone or iPad?
As I said, you have to turn the option of iCloud on from your iPhone or iPad and your photos will be automatically uploaded. Follow the below-written steps to upload photos to iCloud from your iPhone-
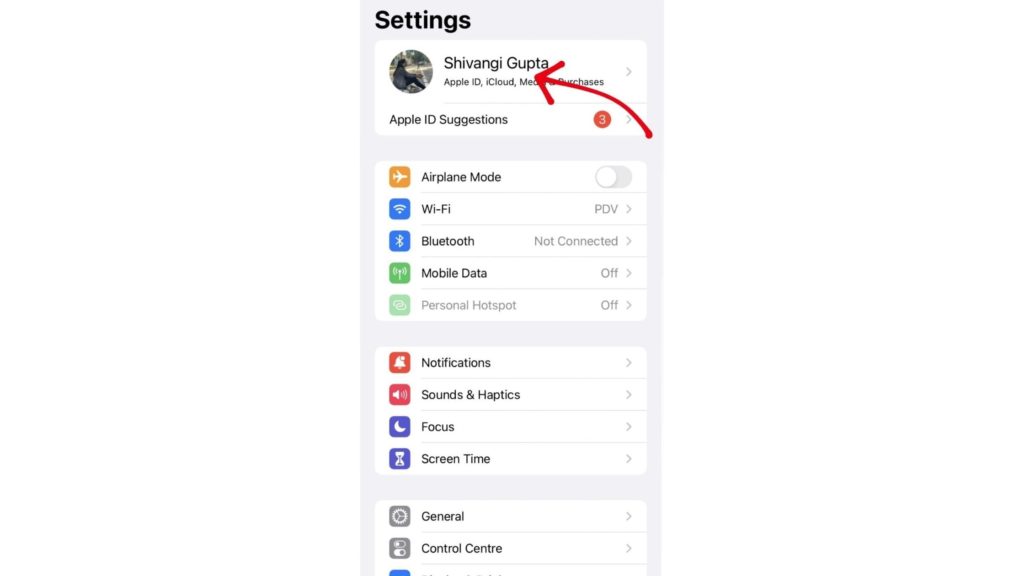
- Launch the “Settings” app on iPhone or iPad.
- If you have already logged in to your Apple Account, then click on your name. If you haven’t logged in to your Apple ID then sign in and then click on your name.
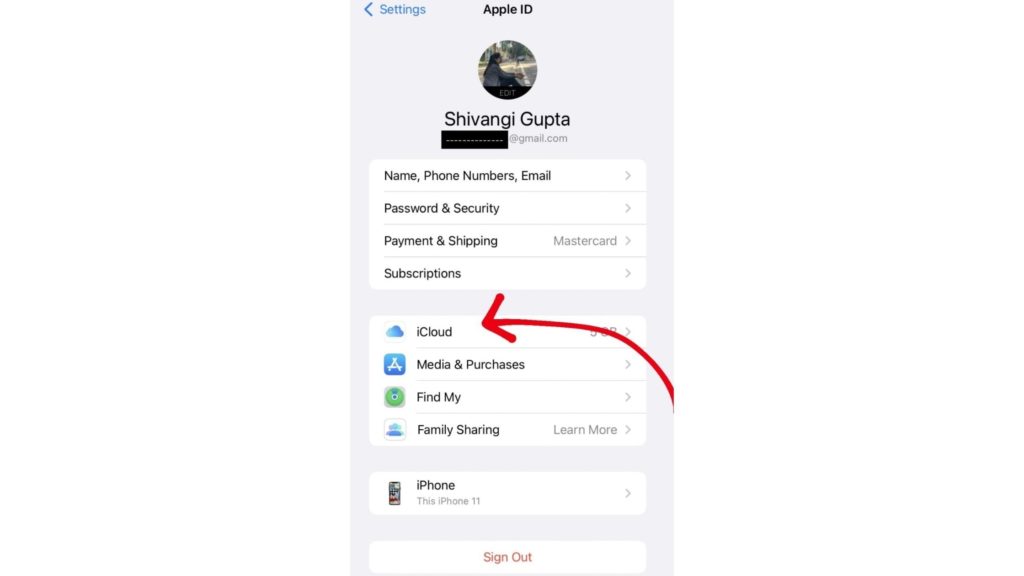
- Click on “iCloud”.
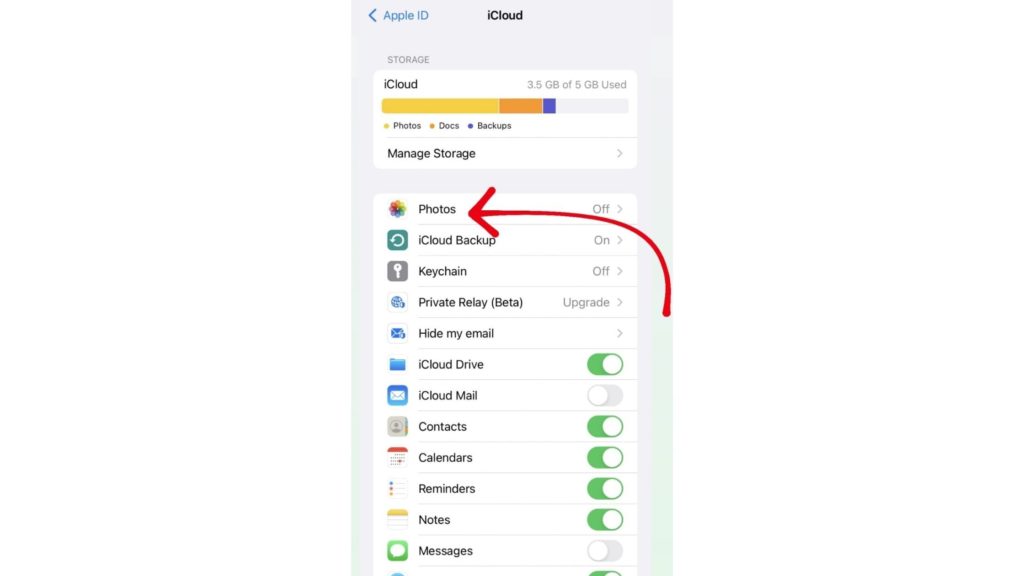
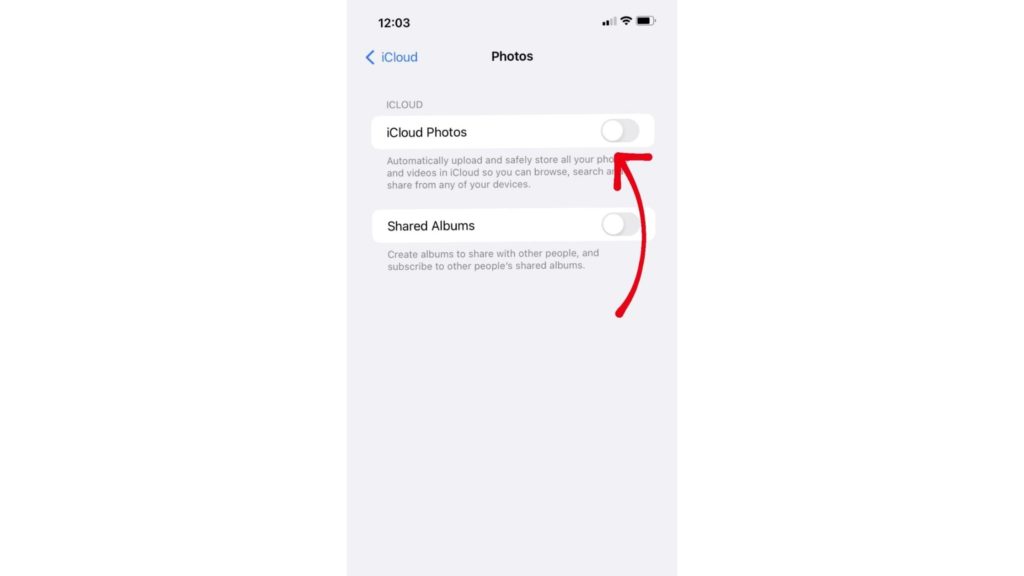
- Click on “Photos”.
- Now, you will see a toggle of “iCloud Photos”, turn it on.
- The uploading will start now if you are connected to a secure internet connection.
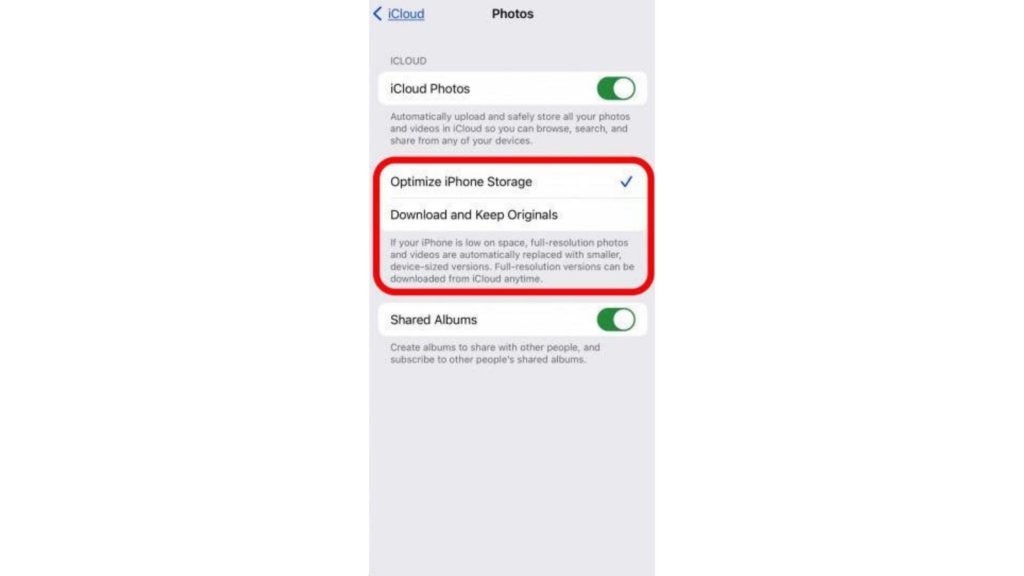
- Once all of your photos are uploaded on iCloud, you can either select “Optimize iPhone Storage” or you can choose “Download and Keep Originals”. These options will apply to all of your photos and videos on your iPhone. These were all the steps on how to upload photos to iCloud from iPhone or iPad. Wasn’t it too easy? Also, read How To Uninstall An Update On iPhone? How To Uninstall iOS 14 Beta?
How to Download Photos from iCloud | Access your iCloud Photos from iPhone, iPad, Mac, or PC
Accessing your iCloud photos is just as easy as uploading them. You need to log in to iCloud from any of your devices and that’s it. If you want a better explanation then follow the below-written steps on how to download photos from iCloud.
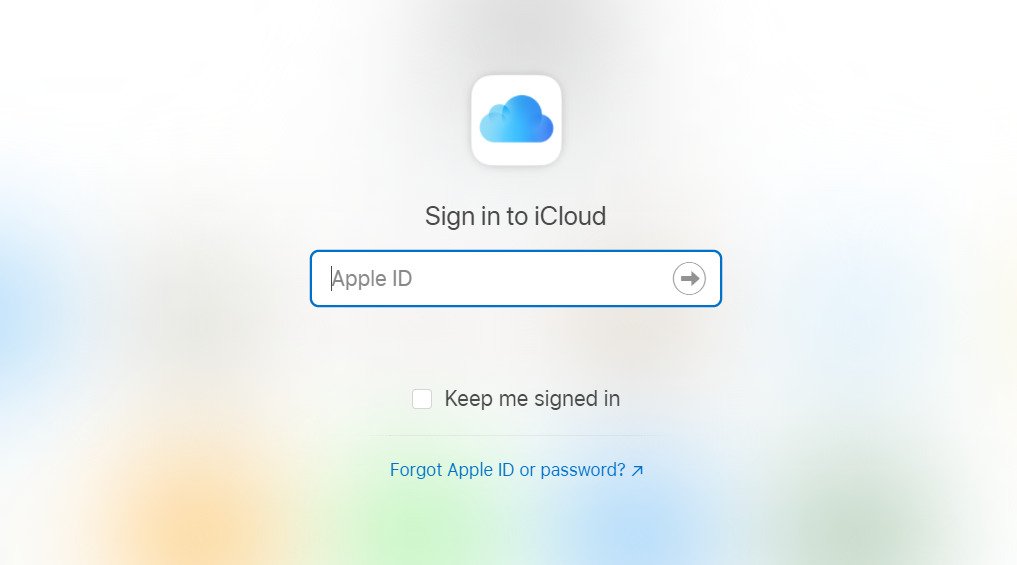
- From your iPhone, iPad, Mac, or PC, open a browser and visit icloud.com.
- Type in your Apple ID and password and sign in.
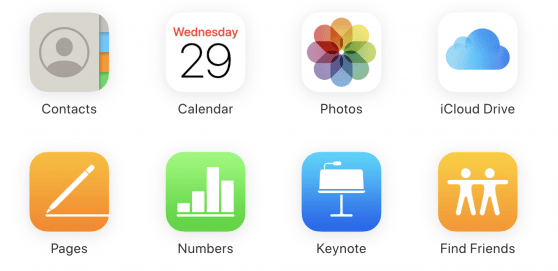
- After you have signed in, click on the icon of the “Photos” app.
- Now, all your backed-up pictures will be visible to you. Simply click on one to download it. Also, read How To Schedule A Text Message On iPhone? Simple iPhone Hacks
How to Upload Photos to iCloud from Mac or PC?
It’s not possible for someone to have all their photos only on one device. At some point in time, you will want or feel the need to upload photos to iCloud from your Mac or PC, for those purposes follow the steps written below-
- From your Mac, or PC, open a browser and visit icloud.com.
- Type in your Apple ID and password and sign in.
- After you have signed in, click on the icon of the “Photos” app.
- Now, select the cloud with an up arrow icon. (You basically have to choose pictures from your device, so look for a button that will take you to your internal memory on your PC)
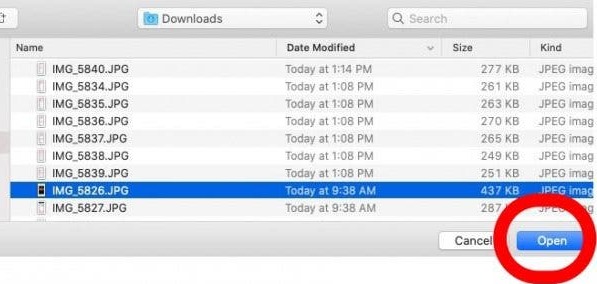
- Now, select the photo/s you want to upload to iCloud from your Mac or PC and click “Open”.
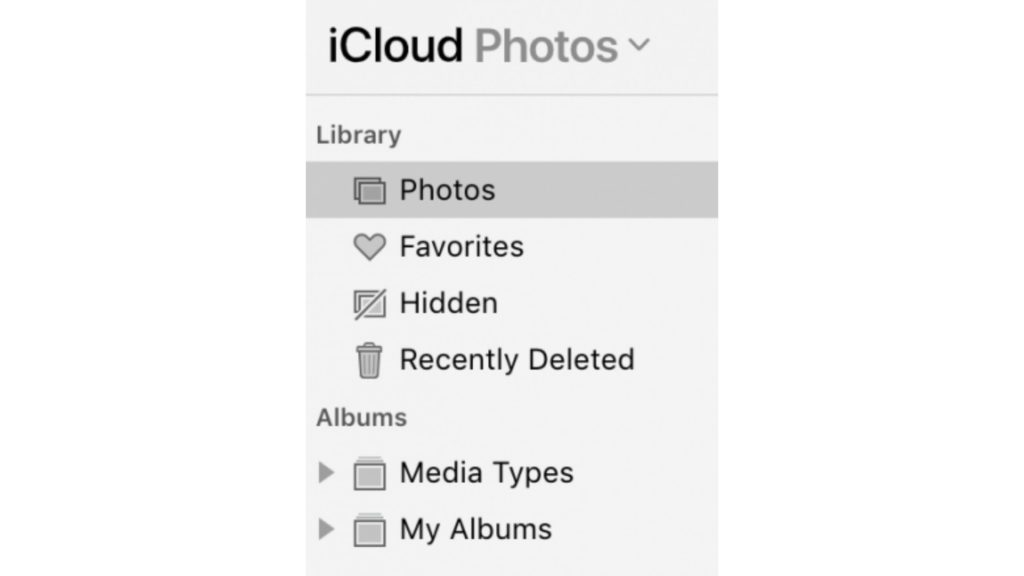
- Now, under the “Library” section, click on “Photos”.After this, you can check that the photo/s you just uploaded appear on the bottom of the page, just like the newly uploaded photos on iPhone appear at the bottom of the screen.
- Once you have added all your pictures to the iCloud Photos Library, you can see them from your iPhone. Now, you have learned how to upload photos to iCloud from Mac or PC. The only thing that’s left is to learn how to download it back. Also, read How To Delete Calendar Events On iPhone? 5 Working Solutions
How to Download Photos from iCloud to Mac or PC?
It is pretty easy to download photos from iCloud to Mac or PC. The steps are the same in the beginning, you only have to visit your account on iCloud.com, then you will follow the below-written steps:
- From your iPhone, iPad, Mac, or PC, open a browser and visit icloud.com.
- Type in your Apple ID and password and sign in.
- After you have signed in, click on the icon of the “Photos” app.
- Click on the picture you want to download.
- If you want to download multiple pictures at a time, then press Shift while you click on the pictures. It will select only the ones you want to download.
- Once you have selected the pictures you want to download, click on the cloud with a down arrow button in the upper right corner of the screen.
- Now, your pictures will be downloaded from your iCloud.
- To find your downloaded pictures, open the Finder and click on “Downloads”. And that sums up everything you needed to know about iCloud and access it from multiple devices. Also, read How To Hide Location On iPhone In 3 Simple Ways Easily
Wrapping Up
Working with iCloud is pretty easy. That’s why Apple has created this cloud feature. That was all about this article on “How To Upload Photos To iCloud From iPhone, Mac & PC”. If it helped you then comment below. You can also comment on any queries if you face any. We will try our best to help you. Share this article with a friend to help him/her. Keep visiting Path of EX for more relatable stuff and have an amazing day!
Δ