iOS is known for its exclusivity. It is a closed-source operating system and has its own benefits and issues. One of the main benefits is its advanced security. At the same time, its exclusivity can sometimes get on its users’ nerves. The highest used operating system in the world is Android and the second is Windows. And, Apple hasn’t made it easy to import photos from iPhone to PC. That is one of the reasons why many customers are still apprehensive about buying iOS devices. After trying different ways to transfer photos from iPhone to PC, I have concluded that there are only a few reliable ways to do so. Let’s learn both wired and wireless ways to transfer photos from iPhone to PC.
How to Transfer Photos from iPhone to PC Using Wired Methods?
You can transfer photos from iPhone to PC via a USB cable. All you need is a USB cable and the latest version of iTunes installed on your PC. To install the latest version of iTunes on your PC, please follow these steps: You are all good now! Let’s look at the different ways you can import photos from iPhone to PC. Also, read How to Create a New iPhone Lock Screen in iOS 16 in 5 Easy Steps
How to Transfer Photos from iPhone to PC Using Photos App?
The steps to transfer photos from iPhone to PC via Photos using a USB cable are:
- Connect your iPhone to your PC with a USB cable.
- A notification may appear asking if you trust your computer and if you allow access to photos and videos; say that you do.
- Enter the device passcode.
- Open the Photos app on your PC from the Start menu.
- Tap on Import > From a USB device.
- Select the items you want to import.
- Click Continue and your photos will be imported into your computer. You will find the photos in folders within the Pictures folder. This is one of the methods to transfer photos from iPhone to computer. Scroll down to see more ways through which you can import photos from iPhone to PC. Also, read How to Add Widgets to iPhone Lock Screen in iOS 16 | Customize Your iPhone Lock Screen Easily
How to Transfer Photos from iPhone to PC Using Windows Explorer?
You can also transfer photos from iPhone to PC using windows explorer or file explorer. The only requirement is that you have to have the latest version of iTunes installed on your system. When you have iTunes installed, follow these steps: Also, read How To Hide Apps On iPhone | 3 Best Tricks To Maintain Your Privacy
How to Transfer Photos from iPhone to PC Using Wireless Methods?
If you get trouble finding a USB cable that is compatible with your iPhone, there are two ways you can transfer your photos wirelessly. To wirelessly transfer photos and videos from your iPhone to a Windows PC, you will need an iCloud account. Once you have an iCloud account, you will need to enable iCloud Photo Library on your iPhone. To do so, Your photos will now be uploaded to iCloud, every time you click photos (only when you have Wi-Fi). Also, read How to Retrieve Deleted Text Messages on iPhone | 5 Best Ways to Recover Deleted Messages
How to Transfer Photos from iPhone to PC Using iCloud for Windows App?
Now, you need to download the iCloud for Windows app onto your computer. Download the application from the Apple website > install the app > sign in to iCloud for Windows using your Apple ID and password. To transfer photos from iPhone to PC, follow these steps:
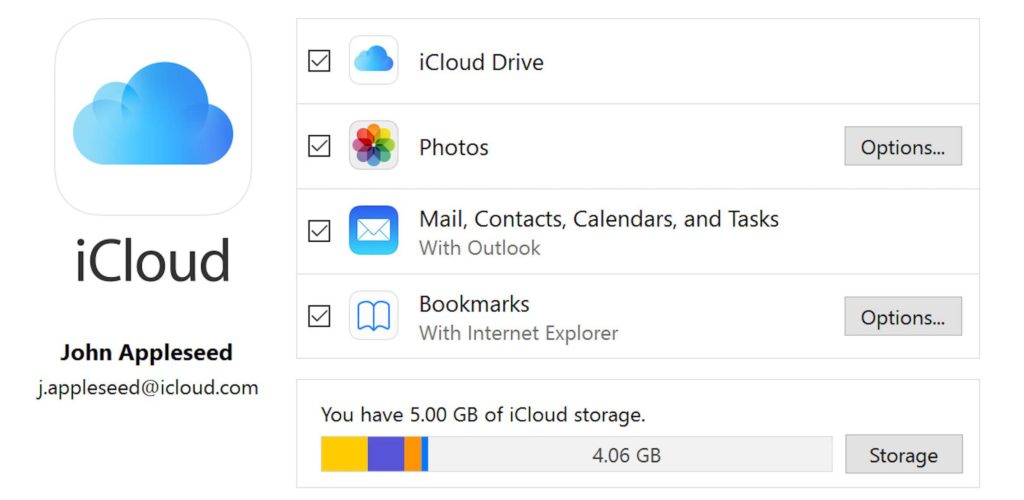
- Open the iCloud for Windows program on your PC
- Check the box next to Photos
- Tap the Options button to the right of Photos
- Check the iCloud Photo Library option
- Check the Download new photos and videos to my PC
- Click Done and then Apply All new photos that you take will now be automatically downloaded to your computer, provided you have Wi-Fi. To access your downloaded photos: Following these simple steps, you can seamlessly transfer photos from iPhone to PC. Yet this is not the only way you can do so wirelessly. Also, read How to Create a Poll in iMessage on an iPhone or iPad Efficiently [2022]
How to Transfer Photos from iPhone to PC Using iCloud.com?
If you don’t want to install the iCloud for Windows app just for the sake of this trivial task of transferring photos, you can use iCloud.com and get the job done just fine. You just have to permit your phone to upload photos to iCloud. Follow these steps: You are all set to download photos to your PC. All you are left with to do is:
- Open a web browser (e.g. Chrome)
- Go to iCloud.com
- Sign in using your Apple ID and password.
- If prompted, enter a 6-digit PIN on your PC.
- Tap Allow when “Apple ID Sign In Requested” is prompted.
- You can trust your computer if you want to use it for the same purpose in the future and spare yourself the verification process next time.
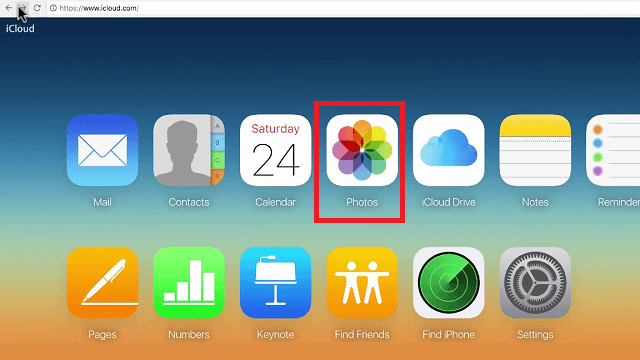
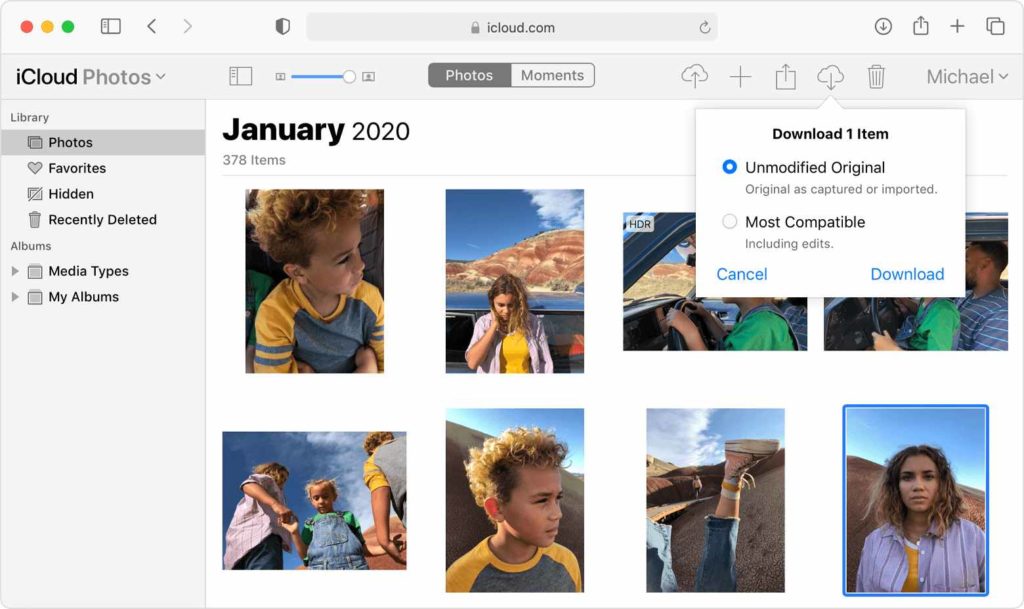
- From iCloud.com, click Photos. Also, read How To Turn Off Emergency Alerts On iPhone In 2022 (Solved)
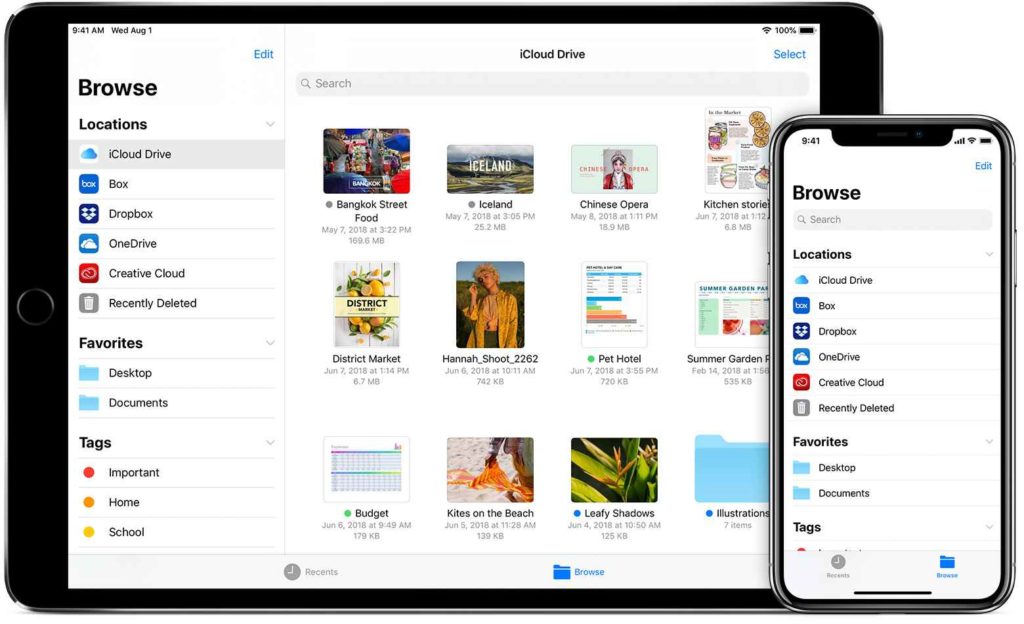
- On the left-hand sidebar of the library, you can browse media by media type or access the iPhone photo library albums
- Select photos that you wish to download.
- Click on the download icon (cloud with a downward arrow) at the top of the screen You can access all the downloaded photos in the Downloads folder of your PC. Bravo! You have successfully transferred photos from an iOS device to a Windows device. Also, read How to Open Google Desktop Version on Mobile on iPhone & Android
How to Transfer Photo from iPhone to PC Using Google Drive?
There is a rather funny way to transfer photos from iPhone to PC. It is by using Google Drive. Follow the instructions:
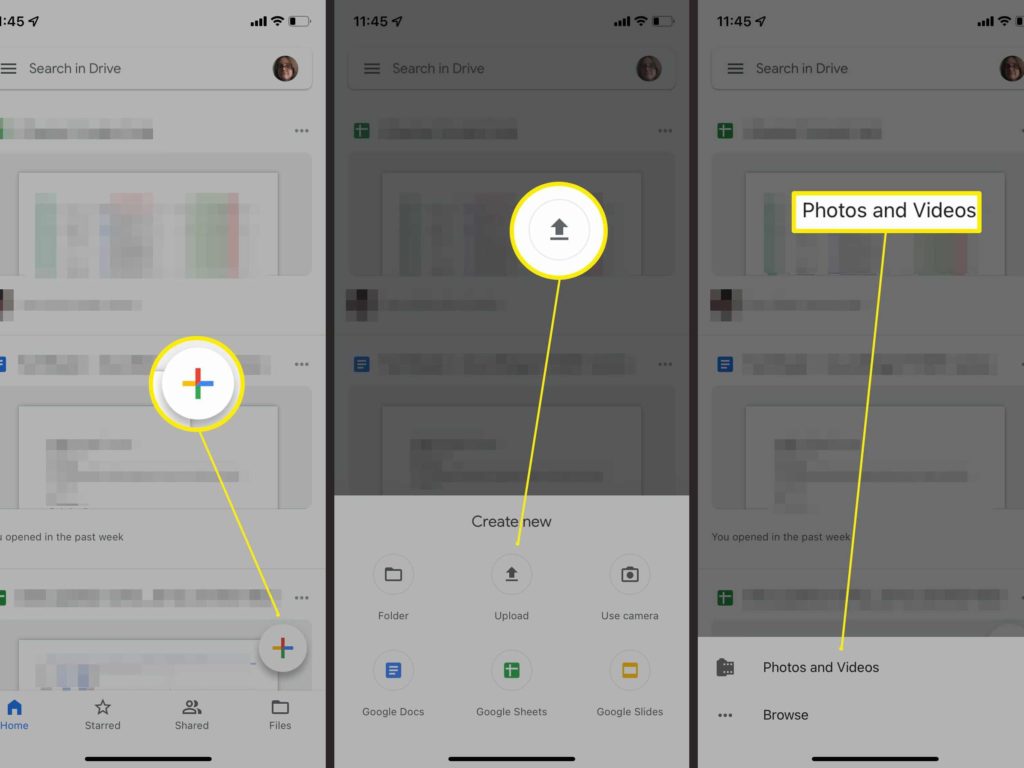
- Open the Google Drive app on your iPhone
- Tap the multicolored (+) symbol
- Tap Upload
- Select Photos and Videos
- Do allow access to all photos.
- Select the photos you want to upload to your PC.
- Tap Upload.
- Give it the required time. All your Photos are now uploaded to Google Drive. To download the photos from Google Drive to your PC, follow these steps: Also, read How to Share Battery on iPhone | Get Your iPhone Charged Without Battery in 2022
How to Transfer Photos from iPhone to PC?
Wrapping Up
Although it is slightly overworked, after you have gone through these processes, you will have some of the best photos that a phone could ever take. So you go now and transfer photos from iPhone to PC like a boss. Until next time, Ciao! Open the Google Drive app on your iPhone > Tap the multicolored (+) symbol > Tap Upload > Select Photos and Videos > Do allow access to all photos > Find the photos you want to upload to your PC and select them > Tap Upload
Δ